Installing Raspbmc successfully
A friend recommended me this distro for running XBMC which was released by one of the developers of the XBMC project with specific optimizations to run on the Rasberry’s hardware. So I decided to test it and I explain here all have to do to install it, that indeed was a little problematic but successfully at the end.
Raspbmc from the installer
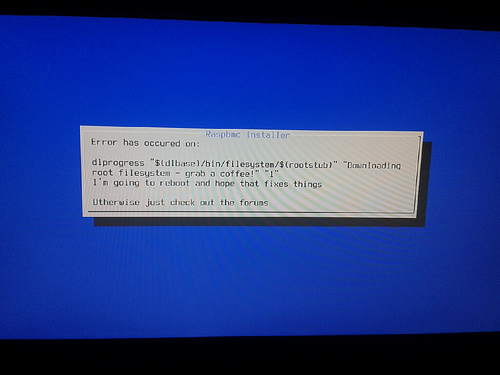
The project’s page recommends to use the installer or Network Image, a python script which practically do the whole installing process, partitioning and doing the initial setup…or at least it tried to, because in my case it didn’t work due to my network connection at home didn’t help at all so I couldn’t download the image using the installer. Therefore I had to install the complete image of Raspbmc.
The complete image of Raspbmc
There’s another option offered on the project’s page which is to download the whole image of Raspbmc of 235 MB called Standalone Image, but after extract it it sizes 1.4 GB roughly. This was an issue because my SD card’s capacity is 1 GB and I didn’t buy another one as I have a 320 GB hard drive just for the Rasberry Pi. Therefore I came up that I could shrink the image to fix my 1 GB SD card.
Repartitioning the image
In a similar way as explained in How to run Raspberry Pi from a USB hard drive article, I dumped the image into a 8 GB pen drive to be able to extract the /boot and the operating system or system file’s root partition. In order to copy the image to the pen drive you must first extract the image and later extract the image and the dump it as raw, as shown next:
gunzip raspbmc-final.img.gz
dd if=raspbmc-final.img of=/dev/sdb
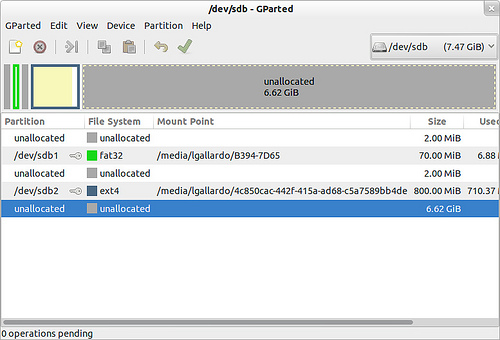
If you check it with gparted you should see something like this:
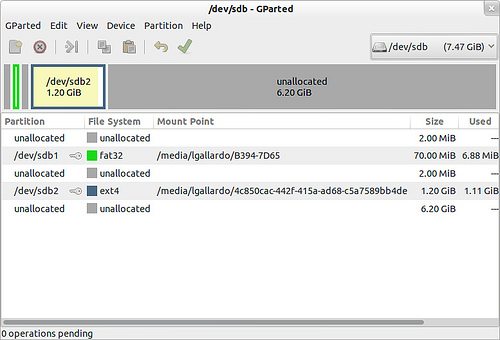
Later using gparted itself I had to resize the partition /dev/sdb2 to 800 MB roughly, so I could put the /boot de 74 MB as well in my 1 GB SD card.
To extract the /boot partition from the pen drive you can do this:
dd if=/dev/sdb1 of=raspbmc-final_boot.img
In a similar way extract the file system of 800 MB on the another partition:
dd if=/dev/sdb2 of=raspbmc-final_fsext4.img
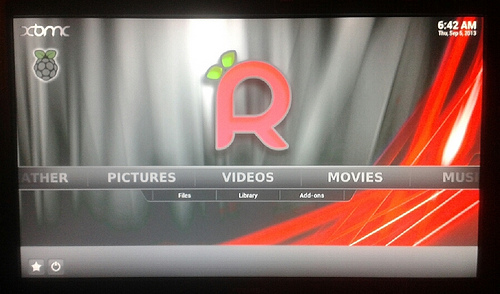
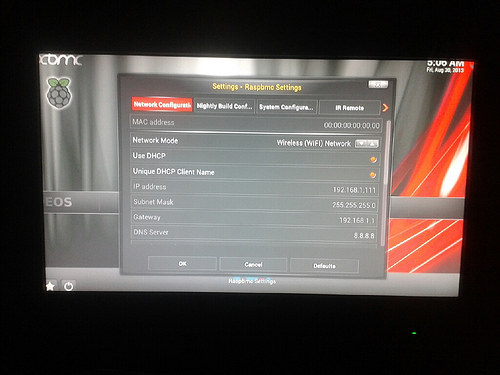
Initial setting
The initial setting it’s done by the installer, which is an script that ask some questions as networking parameters and such. Those values can be modifies later on XBMC with an script added for the Raspbmc:
Disk repartitioning
The installation detected the hard drive automatically but it didn’t let me partition it, in fact it erases everything and creates a unique partition which is mounted into /media withe the partition’s UUID . But I wanted three partitions: one for the operating system (/), other for the memory swapping (swap) and the remaining space for data (/media/Toshiba320), and the /boot partition which must be in the SD card.
To partion the hard drive I deleted and created the partitions using fdisk. At the end the disk was distributed in this way:
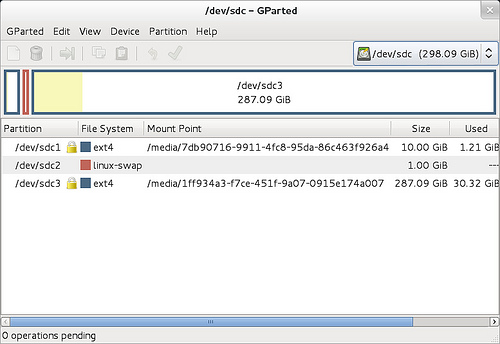
Then I edited the /etc/fstab to reflect the changes:
proc /proc proc defaults 0 0
devpts /dev/pts devpts rw,nosuid,noexec,relatime,gid=5,mode=620 0 0
#/dev/sda2 / ext4 defaults,noatime 0 0
UUID=e7db90716-9911-4fc8-95da-86c463f926a4 / ext4 defaults,noatime 0 0
UUID=70a55bca-9fdb-4073-87f6-c15fd7b351dc none swap sw 0 0
UUID=1ff934a3-f7ce-451f-9a07-0915e174a007 /media/Toshiba320 ext4 defaults 0 0
/dev/mmcblk0p1 /boot vfat defaults,noatime 0 0
And later I edited the file /boot/cmdline.txt to indicate that the operating system will be read from the hard drive instead of the SD card:
dwc_otg.lpm_enable=0 <strong>root=/dev/sda1</strong> rootfstype=ext4 noatime quiet rootwait loglevel=1 persistent-logs sdhci-bcm2708.enable_llm=1 dwc_otg.microframe_schedule=1 dwc_otg.fiq_fix_enable=1
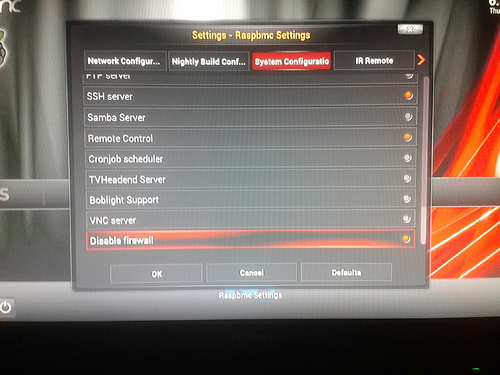
Disabling the Firewall
To disable the firewall that comes with a DROP rule by default on the Raspbmc, you have to edit the file /etc/network/if-up.d/secure-rmc, where you have to comment the following line:
iptables -A INPUT -i $IFACE -j DROP
You also can disable the firewall form the setting script of XBMC as show next:
Remote control
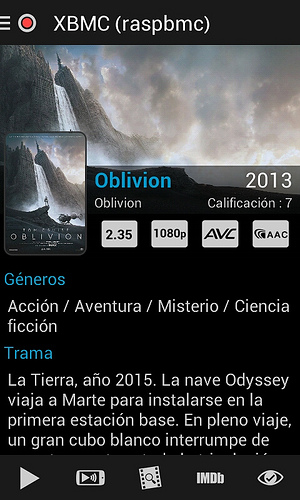
I have a keyboard and a mouse connected to the Rasberry Pi but this is not practical, the ideal scenario is to have a remote. As the Rasberry Pi is connected to the WiFI the idea is to use this network instead of IR or Bluetooh. Therefore I thought in an Android application and mi first choice was XBMC Remote but it seems it has some communication issues that makes XBMC goes crazy ( The Raspbmc version and other for Raspbian behaves the same), but at the end I used another application called Yatse which works properly and it looks better as you can see in the next screenshots I took from my phone:


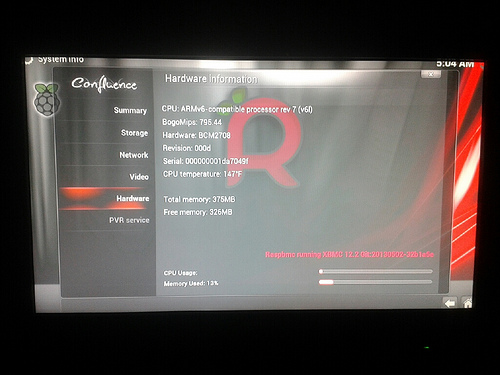
Performance
Comparing XBMC I had tried before on the Rasberry Pi, this version really runs well. It plays movies in several formats (.avi, .mkv, .mp4, etc) smoothly. On the other hand it has Linux inside so it’s my download center with qbittorrent-nox, and I use it for other testing purposes. And this is what XBMC reports as resources consumption: